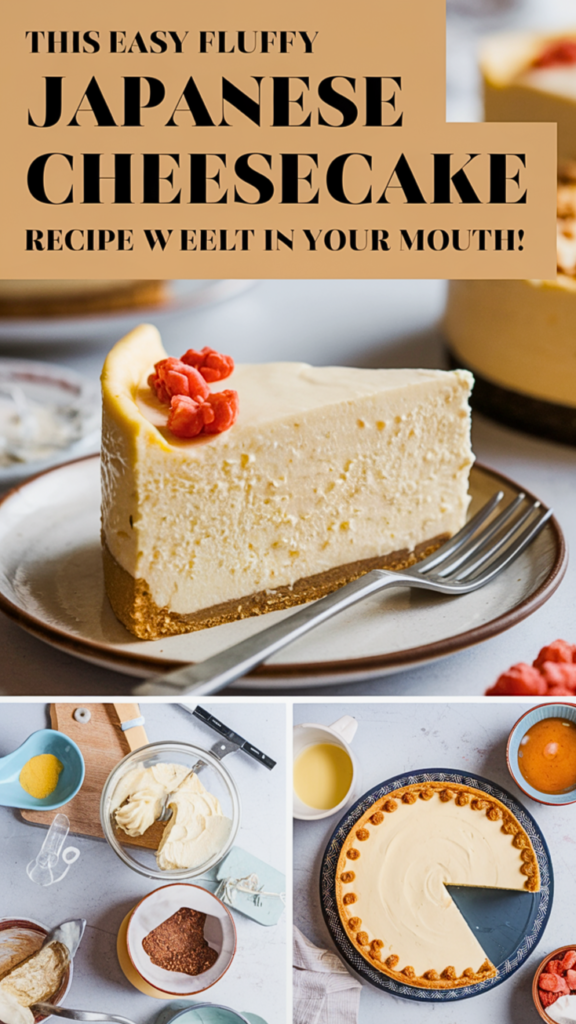
I fell in love with Japanese cheesecake during a trip to Tokyo years ago, and I’ve been perfecting my homemade version ever since. Today, I’m excited to share my foolproof recipe with you! Don’t be intimidated by its elegant appearance – with the right techniques, you’ll be enjoying this heavenly treat in your own kitchen.
What Makes Japanese Cheesecake Special?
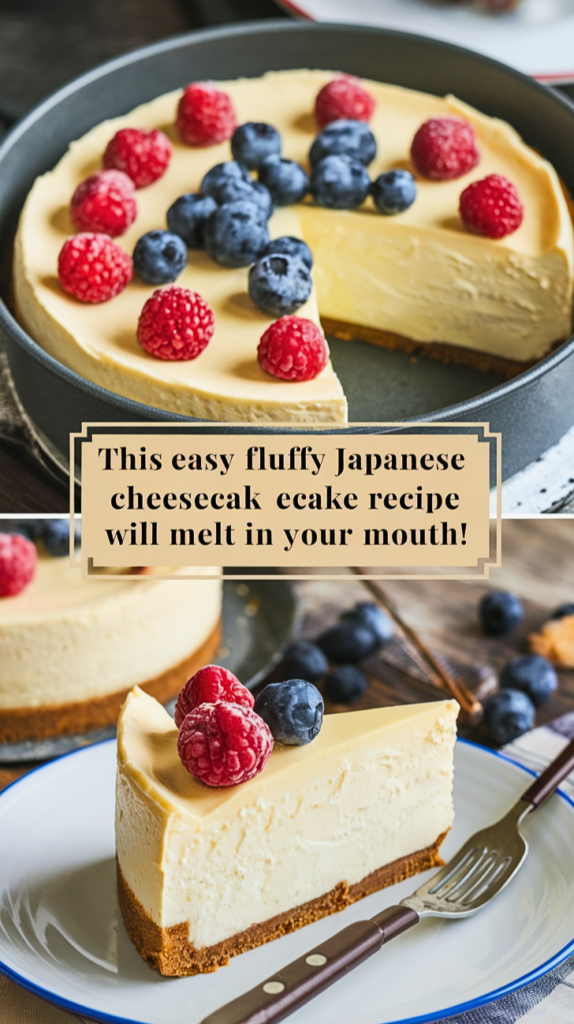
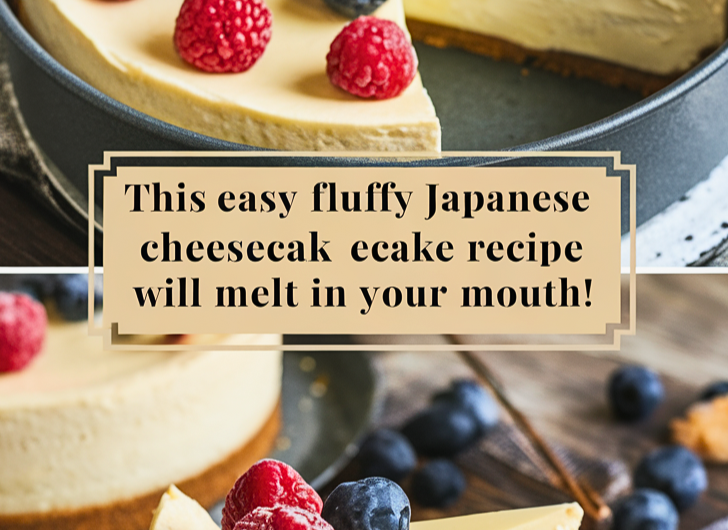
Unlike its American cousin, which is dense and creamy, Japanese cheesecake is remarkably light and fluffy. The secret lies in the whipped egg whites that are gently folded into the batter, creating that signature soufflé-like texture. When baked properly, it jiggles slightly when touched but holds its shape beautifully when sliced.
Easy Fluffy Japanese Cheesecake Recipe That Will Melt in Your Mouth
4
servings30
minutes40
minutes300
kcalIngredients
250 grams cream cheese (room temperature)
60 grams unsalted butter (room temperature)
120 grams granulated sugar
4 large eggs (separated into whites and yolks)
50 grams cake flour
1/2 teaspoon cream of tartar (optional, but helpful!)
1/2 teaspoon vanilla extract
Directions
- Preparing Your Workspace
- Preheat your oven to 160°C (320°F).
- Line the bottom and sides of a 20 cm (8-inch) round cake pan with parchment paper. I like to cut a circle for the bottom and a strip for the sides.
- Prepare a water bath by finding a larger baking dish that your cake pan can sit in comfortably.
- Creating the Cheesecake Base
- In a large bowl, beat the cream cheese and butter until completely smooth and creamy. Take your time with this step – it’s crucial for a silky-smooth cake!
- Gradually add the sugar and beat until fully incorporated and the mixture lightens slightly.
- Add the egg yolks one at a time, mixing well after each addition.
- Stir in the vanilla extract for that lovely hint of flavor.
- Sift the cake flour over the mixture and fold it in gently until just combined. Avoid overmixing to keep your cake tender.
- The Magic Step: Whipping the Egg Whites
- In a clean, dry bowl (any trace of fat will prevent proper whipping), beat the egg whites until they become foamy.
- Add the cream of tartar if using – this is my little secret for stability, especially on humid days.
- Continue beating until you achieve stiff peaks. You’ll know you’re there when you lift your beater and the peaks stand tall without flopping over.
- Combining for Perfection
- Add one-third of the whipped egg whites to the cream cheese mixture and fold gently to lighten the batter.
- Add the remaining egg whites in two more additions, folding with a light hand. Use a cutting and scooping motion rather than stirring to preserve as much air as possible.
- The batter should be light, airy, and uniform in color with no streaks of egg white remaining.
- Baking with Care
- Pour the batter into your prepared pan, smooth the top gently, and tap the pan lightly to remove large air bubbles.
- Place the cake pan in your larger baking dish.
- Fill the larger dish with hot water until it reaches about halfway up the sides of your cake pan.
- Bake for 50-60 minutes, or until the top is golden brown and a toothpick inserted in the center comes out clean or with a few moist crumbs.
The Cooling Process
- When done, turn off the oven, open the door slightly, and let the cake cool in the oven for about 10 minutes. This gradual cooling helps prevent your soufflé from collapsing too quickly.
- Remove from the oven and run a knife around the edge to loosen the cake from the pan.
- Allow to cool completely on a wire rack before refrigerating for at least 2 hours.
My Top Tips for Success
After making this cake countless times, I’ve learned a few tricks that make all the difference:
- Temperature matters: Beyond room-temperature ingredients, make sure your egg whites are at room temperature too – they’ll whip up with more volume.
- Clean equipment: Ensure your bowl and beaters are completely clean and dry before whipping egg whites. Any trace of fat will prevent them from reaching stiff peaks.
- Gentle folding: Treat your batter like it’s precious (because it is!). Fold with a light touch to maintain all that wonderful air you’ve incorporated.
- Water bath is non-negotiable: The steam from the water bath creates a gentle, moist heat that’s essential for that perfect texture and helps prevent cracking.
- Patience during cooling: Resist the urge to rush the cooling process. The gradual temperature change helps maintain that beautiful height.
Serving and Storage
Japanese cheesecake is traditionally served chilled, making it a perfect make-ahead dessert. I like to dust it lightly with powdered sugar just before serving for an elegant touch. It pairs beautifully with a cup of green tea or coffee.
Store any leftovers in an airtight container in the refrigerator for up to 3-5 days, though in my house, it rarely lasts that long!
A Final Note
The first time I successfully made this cake, watching it rise beautifully in the oven and maintain its height while cooling, I felt like I’d accomplished something truly special. There’s something so satisfying about creating such an elegant dessert from simple ingredients.
Don’t be discouraged if your first attempt isn’t perfect – even experienced bakers sometimes need a practice round with soufflé-style cakes. Each time you make it, you’ll gain more confidence and finesse.